 Controlling things around you just by looking at them using eyes sounds like Sci-Fi movie or magic but we have made it possible in the previous project and tried to control the electric appliances just by looking at them using Raspberry pi and object detection but that is not a wireless control system so we have upgraded that project with wireless IoT system using Raspberry Pi Pico.
Now we are ready to upgrade our previous version of the project with wireless IoT on EYE. Here we use the Raspberry Pi 4 mainboard to process the video and get where we are looking at and Raspberry Pi Pico to connect with the main Raspberry pi wirelessly to control the electronic appliances just by looking at them.
Including the components used in the previous version, we need to buy few more components in this project like Raspberry PI Pico and Bluetooth HC 05.
Bill of Material

Coding
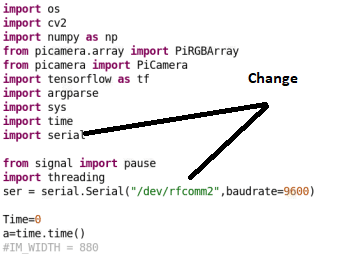
Here in this version, we will use the same object recognition code that we used in the previous version but we need to do some modification to that code. First, we use pyserial module so that we can connect to RPi Pico using Bluetooth HC 05 attached with RPi Pico and build-in Bluetooth of Raspberry Pi 4.So in the updated second version code we remove the gpiozero part of the code of the previous version of the code then import the py serial and set the baud rate and serial name of Bluetooth serial port

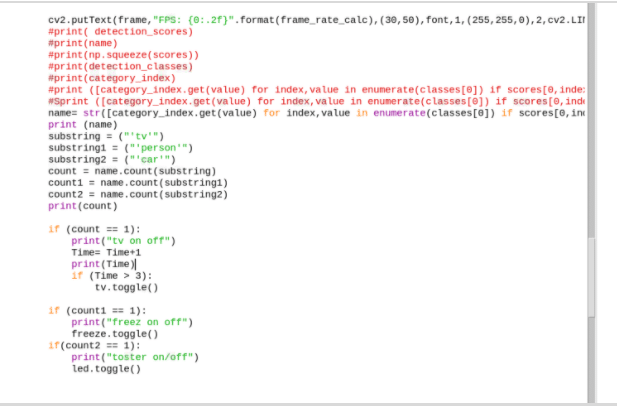
Next in if condition we use the serial to send command to toggle the switch of device at which we are looking at.

Raspberry Pi Pico Coding
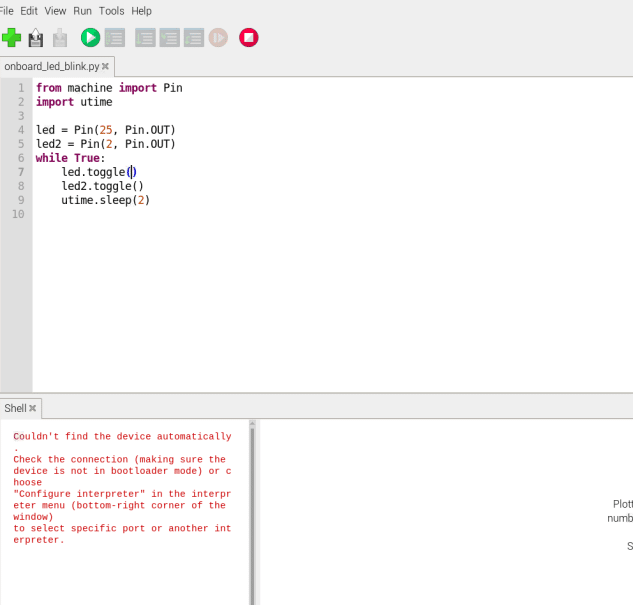
Next, we need to create code for Raspberry Pi Pico so that it will connect to the main Raspberry Pi and control the device wirelessly at which we are looking at.We will use the micropython for Raspberry Pi Pico. Here we use the USART to communicate with bluetooth HC 05 module and then using if condition we check the commands to toggle the switch of connected appliances. Then save the code as main.py to Raspberry Pi Pico.

Connection
Now we have to connect the HC05 and Pico and relay module according to pic below. Next we need to connect the relay COM pin to one wire of the electronic appliance and NO pin to the Live wire carrying AC voltage from the power supply. The other wire of electric appliance to netural wire of power supply.
NOTE:- Be care careful while working with AC power supply wrong connection might cause electric shock and shortcircuit

Testing
Now connect Raspberry Pi Pico to 5v DC adapter and connect the Raspberry pi 4 with a camera mounted on eyeglass with 5V battery and run the code “iotoneye.py” on raspberry pi 4 . Now look at the TV here we used the TV in code and test it with TV. When you look at TV it will automatically turns on/off .
Congrats you have just made an IoT device that lets you control things just by looking at them.
Download Source Code


I found this project fascinating, can you share with me the full article of this project?
Hi Tarun, this is a full project.
sir share more code details in depth which we are using in this project so can we can understand easily
which software did you use for the circuit given above in this page?
Fritzing